
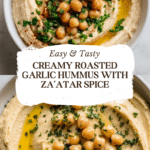
Easy Roasted Garlic Hummus with Za’atar Recipe
Introduction
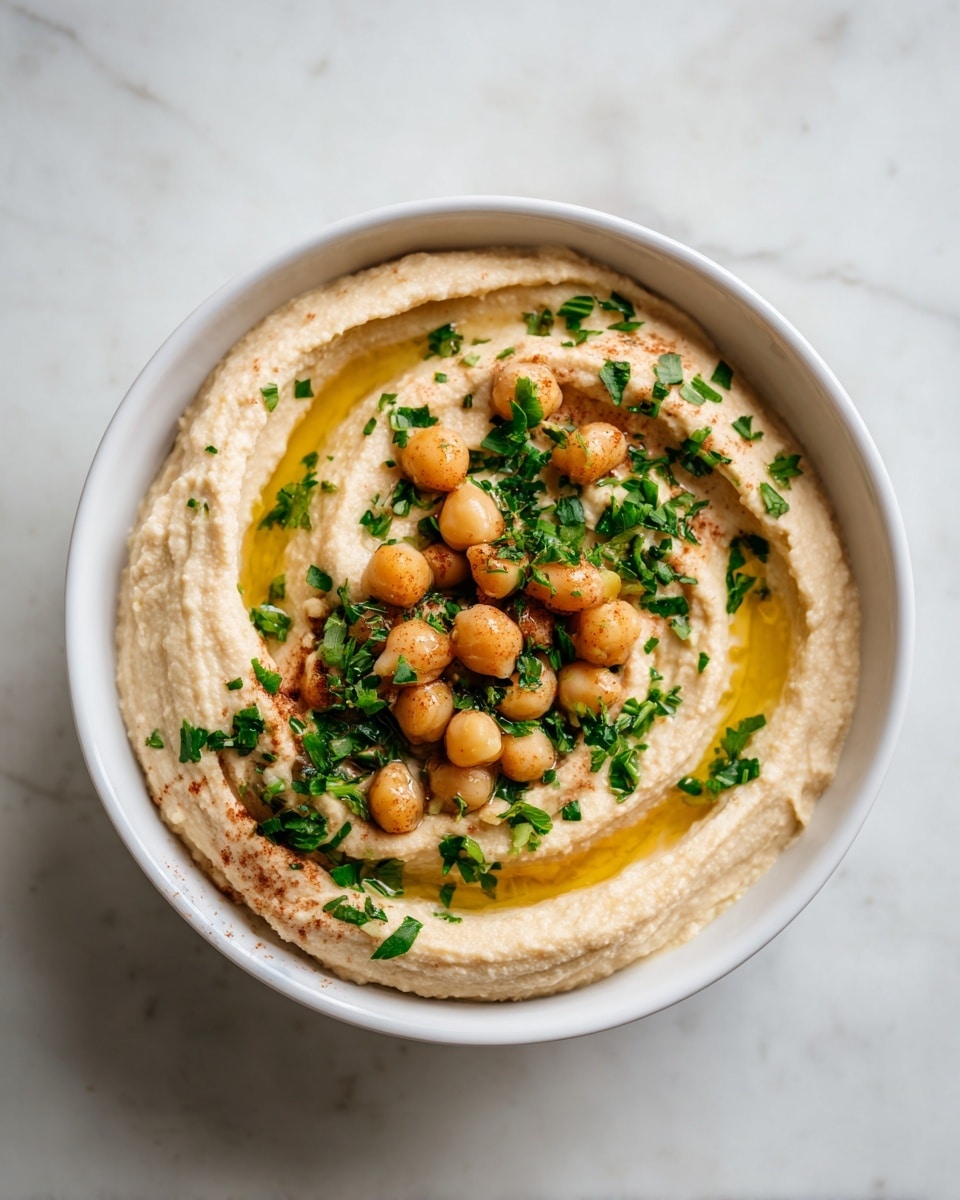
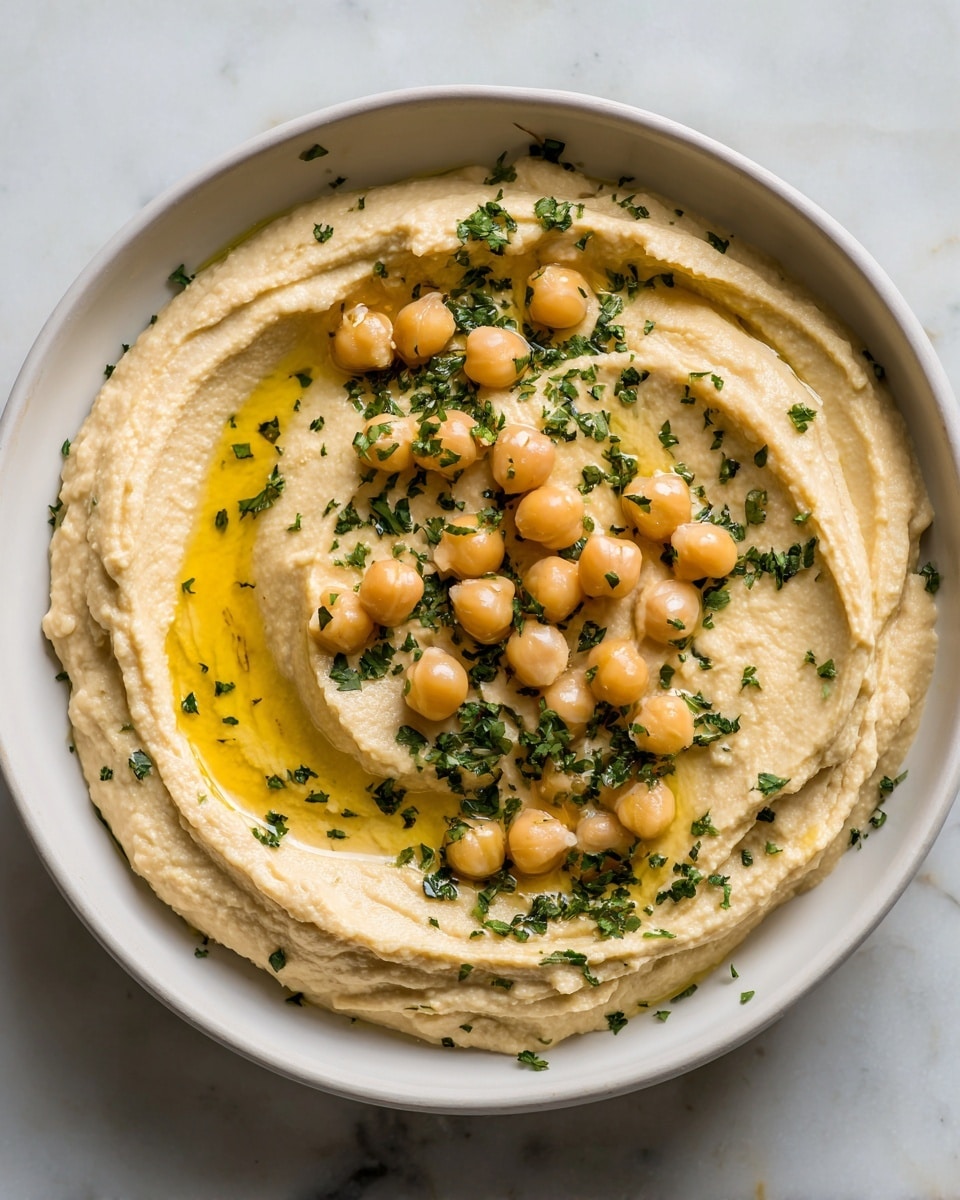
This easy roasted garlic hummus is a flavorful twist on a classic snack, perfect for healthy eating at home. Infused with fragrant za’atar and creamy roasted garlic, it’s simple to make and sure to impress. Whether for dipping or spreading, this hummus brings rich taste with minimal effort.
Ingredients
- 1 can (15 oz / 425 g) chickpeas, drained and rinsed
- 1 whole garlic bulb
- 1/4 cup (60 ml) tahini
- 1/4 cup (60 ml) extra virgin olive oil, plus more for drizzling
- 2 teaspoons (4 g) za’atar
- 2 tablespoons (30 ml) freshly squeezed lemon juice
- 1/2 teaspoon (3 g) salt, or to taste
- 2-4 tablespoons (30-60 ml) reserved chickpea liquid or water
Instructions
- Step 1: Preheat your oven to 400°F (200°C). Slice the top off the garlic bulb to expose the cloves. Drizzle with 1 teaspoon of olive oil, then wrap the bulb tightly in foil. Roast for 40-45 minutes until the cloves are soft and golden.
- Step 2: While the garlic roasts, drain and rinse the chickpeas. Reserve 2-4 tablespoons of the liquid from the can. Measure out the za’atar and set aside.
- Step 3: Once the garlic has cooled, squeeze the roasted cloves out of their skins into a food processor. Add the chickpeas, tahini, lemon juice, 1/4 cup olive oil, and salt. Pulse a few times to combine, then process for 2-3 minutes until the mixture is smooth.
- Step 4: Gradually add the reserved chickpea liquid or water as needed to reach a creamy, spreadable consistency.
- Step 5: Taste the hummus and adjust the seasoning by adding more salt, lemon juice, or olive oil if you like.
- Step 6: Transfer the hummus to a serving bowl. Drizzle with extra olive oil and sprinkle generously with za’atar just before serving.
Tips & Variations
- For extra creaminess, peel the chickpeas before blending, though this is optional.
- If za’atar is unavailable, substitute with a mix of thyme, sesame seeds, and sumac.
- Serve with fresh vegetables, pita bread, or as a sandwich spread for a healthy snack.
Storage
Store the hummus in an airtight container in the refrigerator for up to 4 days. Before serving leftover hummus, stir well and drizzle with a little olive oil to refresh its texture. Avoid freezing, as it may affect the creamy consistency.
How to Serve
Serve this delicious recipe with your favorite sides.
FAQs
Can I use fresh garlic instead of roasted garlic?
Yes, but roasted garlic offers a milder, sweeter flavor that enhances the hummus. Fresh garlic will be more pungent and sharp, so use less if substituting.
What can I do if I don’t have tahini?
You can substitute tahini with smooth peanut butter or sunflower seed butter in equal amounts, but the flavor will be different. Alternatively, omit it and add extra olive oil for creaminess.
Print
Easy Roasted Garlic Hummus with Za’atar Recipe
- Total Time: 55 minutes
- Yield: 8 servings 1x
- Diet: Gluten Free
Description
This Easy Roasted Garlic Hummus recipe offers a flavorful and creamy twist on traditional hummus by incorporating soft, caramelized roasted garlic and aromatic za’atar. Perfect as a healthy snack or appetizer, it combines simple pantry ingredients with a quick roasting technique to elevate the hummus’s depth and richness. Serve it with fresh veggies, pita bread, or use as a spread for sandwiches.
Ingredients
Roasted Garlic
- 1 whole garlic bulb
- 1 teaspoon olive oil (for roasting)
Hummus
- 1 can (15 oz / 425 g) chickpeas, drained and rinsed
- 1/4 cup (60 ml) tahini
- 1/4 cup (60 ml) extra virgin olive oil, plus more for drizzling
- 2 teaspoons (4 g) za’atar
- 2 tablespoons (30 ml) freshly squeezed lemon juice
- 1/2 teaspoon (3 g) salt, or to taste
- 2–4 tablespoons (30–60 ml) reserved chickpea liquid or water
Instructions
- Roast the Garlic: Preheat your oven to 400°F (200°C). Slice the top off the garlic bulb to expose the cloves, drizzle with 1 teaspoon of olive oil, and wrap tightly in foil. Roast it in the oven for 40-45 minutes, until the garlic cloves are soft, golden, and caramelized.
- Prepare Chickpeas and Za’atar: While the garlic roasts, drain and rinse the chickpeas thoroughly. Be sure to reserve 2-4 tablespoons of the liquid from the chickpea can for adjusting hummus consistency later. Measure out the za’atar and set it aside for garnish.
- Combine Ingredients in Food Processor: Once the roasted garlic is cool enough to handle, squeeze the softened cloves out of their skins directly into a food processor. Add the drained chickpeas, tahini, lemon juice, 1/4 cup olive oil, and salt. Pulse several times to combine, then process continuously for 2-3 minutes until the mixture is completely smooth and creamy.
- Adjust Consistency: Gradually add the reserved chickpea liquid or water, one tablespoon at a time, to reach your desired creamy, spreadable consistency that’s perfect for dipping or spreading.
- Season to Taste: Taste the hummus and adjust seasonings as needed by adding more salt, lemon juice, or olive oil to enhance flavor according to preference.
- Serve: Transfer the hummus to a serving bowl. Drizzle with extra olive oil and sprinkle generously with za’atar on top before serving. Enjoy as a healthy snack with pita bread, vegetables, or as a tasty spread.
Notes
- Using the canned chickpea liquid (aquafaba) helps achieve a smoother and lighter hummus without watering it down.
- If you prefer a milder garlic flavor, reduce roasting time or use fewer garlic cloves.
- Za’atar can be found in Middle Eastern or specialty spice stores, but you can substitute with a mix of thyme, sesame seeds, and sumac if unavailable.
- Store leftovers in an airtight container in the fridge for up to 5 days for best freshness.
- This recipe is naturally gluten-free and vegetarian.
- Prep Time: 10 minutes
- Cook Time: 45 minutes
- Category: Snack
- Method: Roasting
- Cuisine: Middle Eastern
Keywords: roasted garlic hummus, healthy hummus recipe, za’atar hummus, Middle Eastern dip, vegetarian snack, gluten-free snack


