
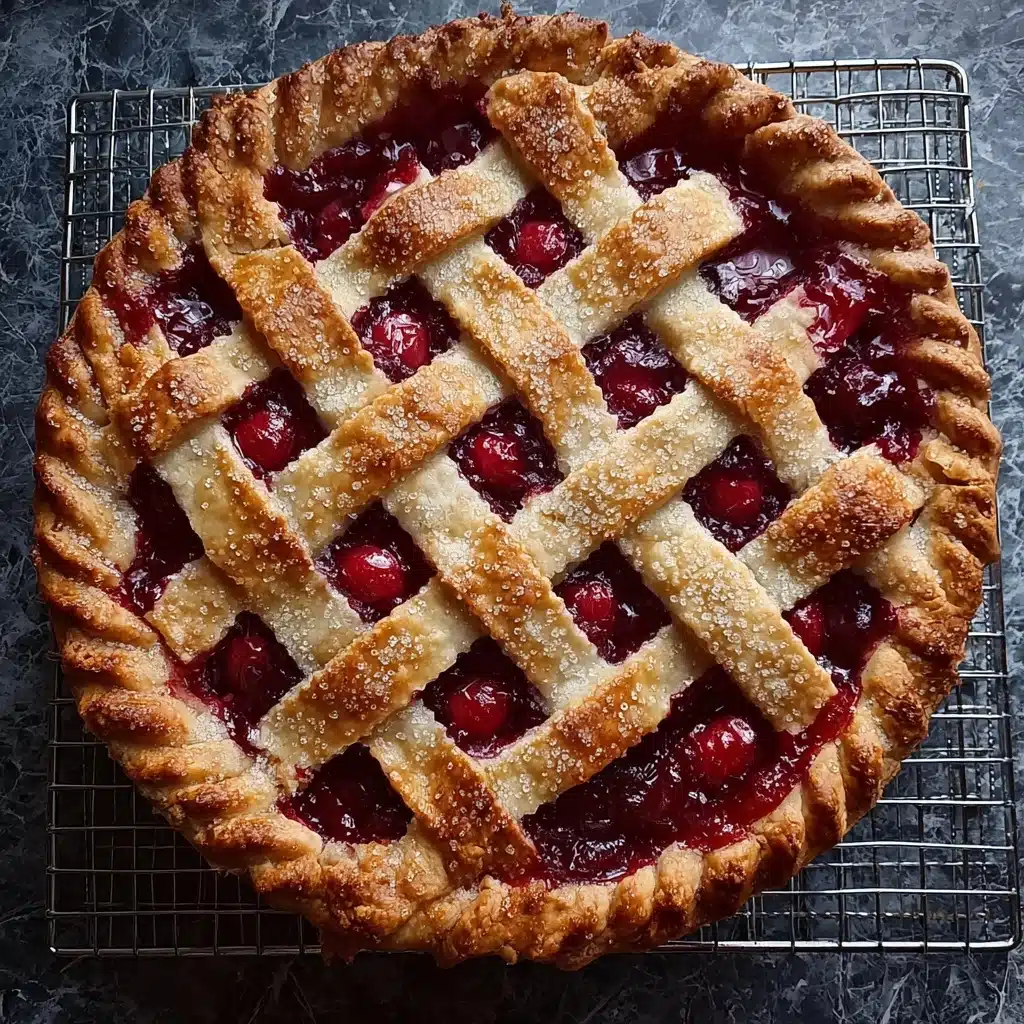
Baked Fresh Cherry Pie Recipe
If you’ve ever craved a dessert that bursts with the pure, tangy sweetness of ripe fruit wrapped in flaky, buttery goodness, then you’re going to fall head over heels for this Baked Fresh Cherry Pie. Imagine vibrant, juicy cherries bubbling under a perfectly golden double crust, each bite delivering that nostalgic, just-picked-from-the-orchard flavor. This Baked Fresh Cherry Pie is comfort food at its absolute best, an easy-to-love classic that transforms simple ingredients into a spectacular centerpiece for any gathering or a cozy night in.
Ingredients You’ll Need
Gathering these ingredients is a breeze, and each one plays a starring role. From the luscious cherries to the buttery crust, every element contributes to the perfect balance of taste, texture, and inviting color that makes this pie irresistible.
- Pastry for a 9-inch double crust pie: A flaky, tender crust is the foundation for capturing that cherry filling beautifully.
- Quick-cooking tapioca (4 tablespoons): Acts as the secret thickener, ensuring the filling holds together without being runny.
- Salt (⅛ teaspoon): Enhances the natural sweetness and rounds out the flavors.
- White sugar (1 cup): Sweetens the cherries perfectly without overpowering their tartness.
- Pitted cherries (4 cups): The star of the show, fresh and bursting with vivid color and natural juiciness.
- Almond extract (¼ teaspoon): Adds a subtle nutty depth that complements the cherries’ sweetness.
- Vanilla extract (½ teaspoon): Brings a warm, cozy aroma and rounds out the flavor profile beautifully.
- Butter (1 ½ tablespoons): Dotting the filling with butter helps create a rich, luscious finish.
How to Make Baked Fresh Cherry Pie
Step 1: Prepare the Oven and Crust
Start by preheating your oven to 400 degrees F (205 degrees C). While the oven heats, place your bottom crust into the pie pan, making sure it fits snugly without any tears. Keep your top crust covered and to the side; it’s essential to keep it from drying out as you move forward.
Step 2: Mix the Cherry Filling
In a large mixing bowl, combine the quick-cooking tapioca, salt, and sugar, then add the freshly pitted cherries along with the almond and vanilla extracts. Let this mixture sit for 15 minutes. This resting period allows the tapioca to absorb some of the cherry juices, making your filling thick and perfectly luscious.
Step 3: Assemble the Pie
Carefully pour the cherry filling into the prepared bottom crust and scatter the butter over the top. The butter melts into the fruit to enrich the flavor and texture as the pie bakes. Now, gently cover the filling with the reserved top crust and flute the edges to seal the pie beautifully. Don’t forget to cut vents in the top crust to let steam escape during baking.
Step 4: Bake to Perfection
Place your pie on a foil-lined cookie sheet. This little hack catches any drips and keeps your oven clean. Pop it into the preheated oven and bake for 50 minutes or until the crust turns a gorgeous golden brown. That aroma wafting through your kitchen is pure magic, signaling that your Baked Fresh Cherry Pie is almost ready.
Step 5: Cool and Set
Once out of the oven, allow your pie to cool for several hours. This rest time is critical; it allows the filling to set and thickens those juicy cherries so every slice holds beautifully. Trust me, the patience here will be rewarded in every bite.
How to Serve Baked Fresh Cherry Pie
Garnishes
Adding garnishes can elevate your Baked Fresh Cherry Pie to a next-level dessert. A scoop of vanilla ice cream melting on top, a dusting of powdered sugar, or even a few fresh mint leaves provide beautiful contrast and delightful flavor combinations.
Side Dishes
This cherry pie pairs wonderfully with a dollop of whipped cream or a drizzle of warm caramel sauce. For a light balance, a simple mixed green salad with a citrus vinaigrette works surprisingly well if serving the pie as part of a larger meal.
Creative Ways to Present
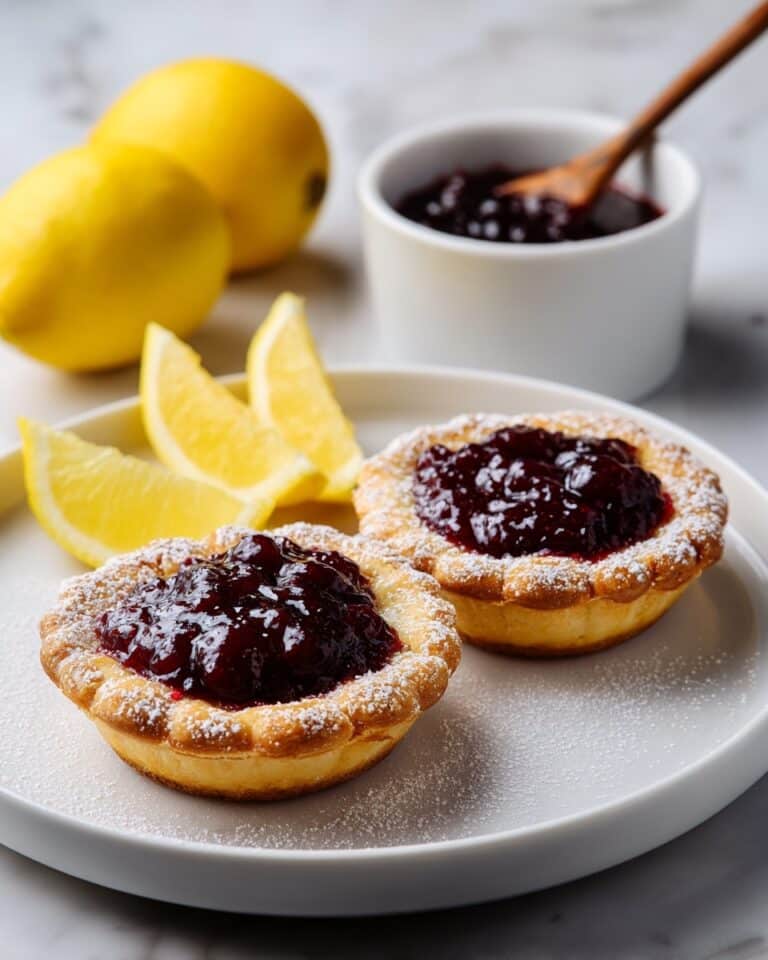
If you want to impress guests, slice the pie into wedges and serve on elegant plates with artistic swirls of fruit coulis or chocolate sauce. You could also cut smaller mini-pies or hand pies from the dough for a fun, shareable twist on the classic Baked Fresh Cherry Pie experience.
Make Ahead and Storage
Storing Leftovers
Store any leftover Baked Fresh Cherry Pie covered in the refrigerator to keep the crust crisp and the filling fresh. It should stay delicious for up to 3 days, making it a fantastic option for dessert that keeps giving.
Freezing
If you want to enjoy Baked Fresh Cherry Pie later, wrap it tightly in plastic wrap and aluminum foil, then freeze. This pie freezes beautifully for up to two months. When you’re ready, thaw it in the fridge overnight before reheating.
Reheating
Warm your pie slices in a 350-degree F oven for about 10–15 minutes to bring back that freshly baked charm. Avoid the microwave if possible, as it can make the crust soggy. This reheating method preserves the crisp crust and luscious filling perfectly.
FAQs
Can I use frozen cherries instead of fresh?
Absolutely! Frozen cherries work well if fresh aren’t available. Just be sure to thaw and drain them before mixing with the other ingredients to avoid excess liquid in your pie.
What kind of pastry dough is best for cherry pie?
A classic flaky, buttery pie crust is ideal for Baked Fresh Cherry Pie. You can use store-bought or homemade pastry, but ensuring it’s cold and not overworked will yield the best results.
How do I prevent the crust from burning?
If your crust starts browning too quickly, tent the edges with foil halfway through baking. This shields them while allowing the rest of the pie to finish cooking evenly.
Can I make this pie gluten-free?
Yes! Use a gluten-free pie crust and ensure your tapioca is gluten-free as well. The rest of the ingredients are naturally gluten-free, making it simple to adapt.
Why do I need to let the pie cool before slicing?
Cooling allows the filling to set and thicken, preventing it from spilling out when sliced. It also helps the flavors meld, giving you the best possible taste and texture.
Final Thoughts
There’s something truly special about a well-made Baked Fresh Cherry Pie — it’s a slice of summer, nostalgia, and comfort all rolled into one. Whether you’re baking it for a family gathering or a quiet treat after a long day, this pie is sure to bring smiles and warm memories. I can’t wait for you to try it and experience the joy of that first, juicy bite!
Print
Baked Fresh Cherry Pie Recipe
- Total Time: 3 hours 10 minutes (including cooling time)
- Yield: 8 servings 1x
- Diet: Vegetarian
Description
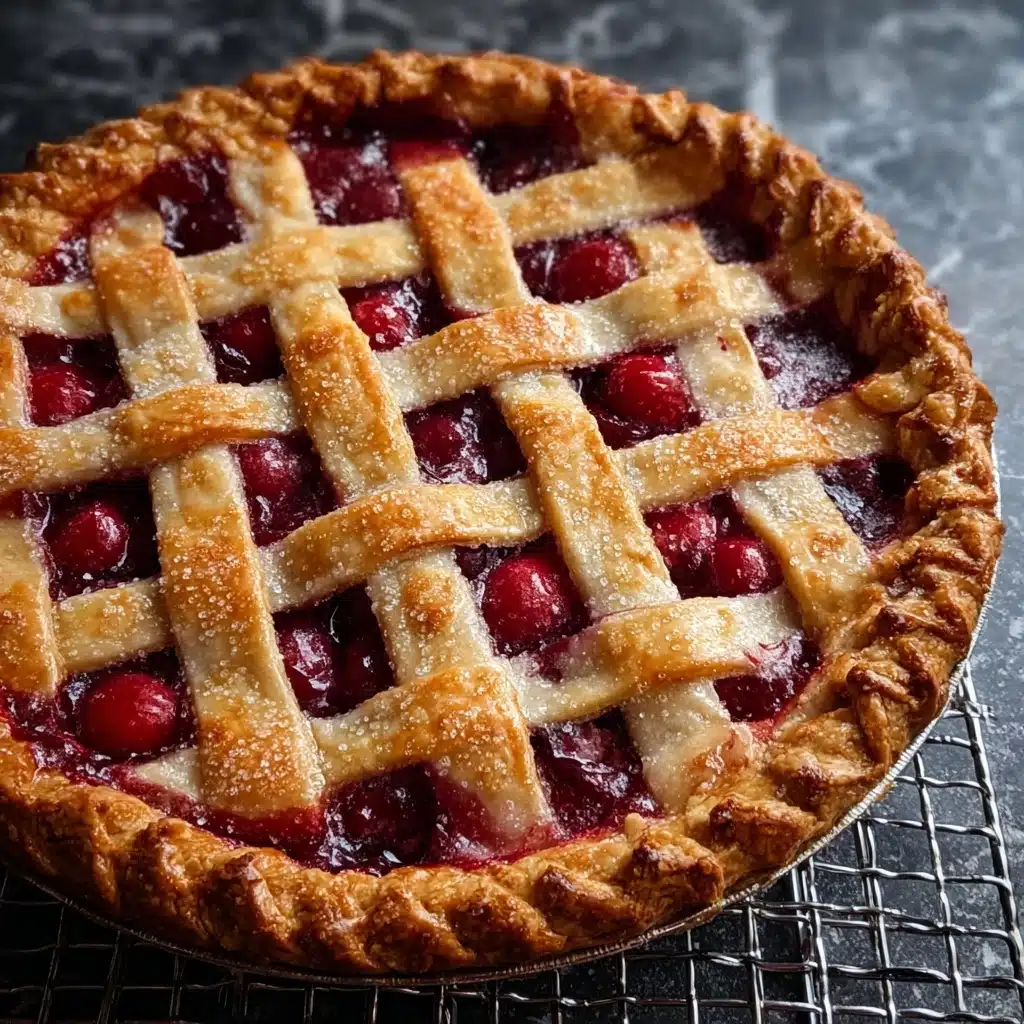
This classic Baked Fresh Cherry Pie features a flaky double crust filled with a luscious, sweet cherry filling enhanced by almond and vanilla extracts. Perfectly baked to golden perfection, this pie is a delightful dessert to enjoy year-round or especially during cherry season.
Ingredients
Pastry
- 1 recipe pastry for a 9-inch double crust pie
Filling
- 4 tablespoons quick-cooking tapioca
- ⅛ teaspoon salt
- 1 cup white sugar
- 4 cups pitted cherries
- ¼ teaspoon almond extract
- ½ teaspoon vanilla extract
- 1 ½ tablespoons butter
Instructions
- Preheat Oven: Preheat your oven to 400 degrees F (205 degrees C). Place the bottom pastry crust into a 9-inch pie pan and keep the top crust covered and set aside.
- Prepare Filling: In a large mixing bowl, combine the quick-cooking tapioca, salt, white sugar, pitted cherries, almond extract, and vanilla extract. Let the mixture stand for 15 minutes to allow tapioca to absorb some juices and thicken the filling.
- Assemble Pie: Pour the cherry mixture evenly into the bottom crust of the pie. Dot the filling with 1 ½ tablespoons of butter to add richness and flavor.
- Cover Pie: Place the top crust over the cherry filling. Trim and flute the edges to seal the pie. Cut several vents into the top crust to allow steam to escape during baking.
- Prepare for Baking: Place the assembled pie on a foil-lined cookie sheet to catch any drips and prevent oven mess.
- Bake Pie: Bake the pie in the preheated oven for about 50 minutes or until the crust is golden brown and the filling is bubbling.
- Cool Pie: Remove the pie from the oven and allow it to cool for several hours. Cooling helps the filling set properly for clean slices.
Notes
- Use fresh pitted cherries for best flavor, or frozen cherries if fresh are not available; thaw and drain excess juice first.
- Quick-cooking tapioca helps to thicken the filling; do not substitute with regular tapioca without adjusting the soaking time.
- Ensure vents are cut in the top crust to avoid bubbling over.
- Let the pie cool completely before slicing to ensure clean cuts and a set filling.
- For a shinier crust, brush the top with an egg wash before baking.
- If you prefer a sweeter filling, you can increase sugar to 1 ¼ cups based on cherry tartness.
- Prep Time: 20 minutes
- Cook Time: 50 minutes
- Category: Dessert
- Method: Baking
- Cuisine: American
Nutrition
- Serving Size: 1 slice (1/8 of pie)
- Calories: 320 kcal
- Sugar: 25 g
- Sodium: 180 mg
- Fat: 14 g
- Saturated Fat: 6 g
- Unsaturated Fat: 7 g
- Trans Fat: 0 g
- Carbohydrates: 44 g
- Fiber: 2 g
- Protein: 3 g
- Cholesterol: 25 mg
Keywords: cherry pie, baked cherry pie, fresh cherry dessert, double crust pie, summer pie, classic American pie


