
Classic Homemade Sandwich Bread Recipe Explained Recipe
“`html
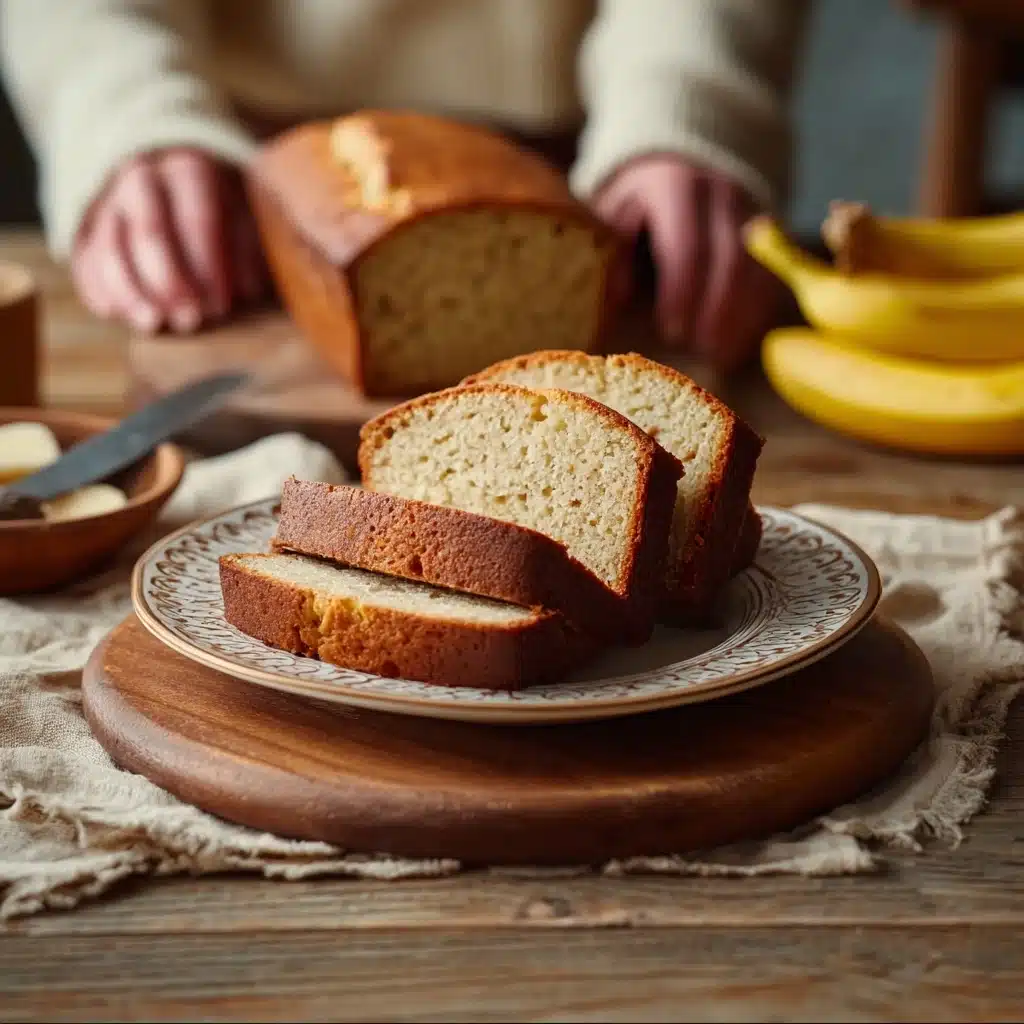
If you’ve ever wished to capture the warm, comforting aroma and soft, fluffy texture of freshly baked bread just like grandma used to make, you’re in for a treat! This Classic Homemade Sandwich Bread Recipe Explained walks you through every step of creating a perfect loaf that’s tender inside with a gorgeous golden crust outside. From the simple, essential ingredients to the magic of yeast fermentation and kneading, you’ll learn the secrets to homemade bread that’s irresistible for sandwiches, toast, or just to enjoy with a pat of butter. Let’s dive into the joy of baking bread that truly tastes like home.
Ingredients You’ll Need
Baking this wonderful sandwich loaf is surprisingly straightforward because it relies on a handful of basic but crucial ingredients, each playing a pivotal role in flavor, texture, and rise. Let’s uncover how every item makes your loaf sing!
- All-purpose flour (3 ½ cups): The foundation that provides structure and a tender crumb, easy to work with and widely available.
- Active dry yeast (2 ¼ tsp): The living ingredient responsible for making the bread rise and airy by producing carbon dioxide bubbles.
- Warm water (1 ¼ cups at about 110°F): Activates the yeast and hydrates the flour to create the perfect dough consistency.
- Granulated sugar (2 tbsp): Feeds the yeast for an energetic rise and contributes just a touch of subtle sweetness to balance flavors.
- Salt (1 ½ tsp): Enhances overall taste while controlling yeast activity to prevent over-rising.
- Olive oil or melted butter (2 tbsp): Adds moisture, softness, and richness for that tender crumb you’ll adore.
How to Make Classic Homemade Sandwich Bread Recipe Explained
Step 1: Activate the Yeast
Begin by combining warm water and sugar in a small bowl, stirring gently until the sugar dissolves completely. Sprinkle the yeast on top, giving it 5 to 10 minutes to bloom until it forms a frothy, bubbly layer. This lively yeast is the heart of your bread’s rise and texture.
Step 2: Prepare the Dough
Next, mix your flour and salt in a large bowl. Slowly add in the activated yeast mixture along with the olive oil or melted butter. Stir until you create a soft, shaggy dough that’s ready for some kneading magic.
Step 3: Knead the Dough
Transfer your dough to a floured surface and knead it energetically for 8 to 10 minutes, or until it becomes smooth, elastic, and slightly tacky but not sticky. This crucial step develops gluten, giving your bread its perfect chew and spring.
Step 4: First Rise
Place your kneaded dough in a lightly greased bowl, cover it with a damp cloth or plastic wrap, and let it rise in a warm spot until it doubles in size, which usually takes 1 to 1.5 hours. Patience here rewards you with an airy, light crumb.
Step 5: Shape the Dough
After the first rise, gently punch down the dough to release excess air, then shape it into a neat loaf. Place it into a greased 9×5-inch loaf pan, wrapping it for an inviting second rise.
Step 6: Second Rise
Let your shaped dough rise again, covered, for 30 to 45 minutes until it slightly peaks above the pan’s edge. This second fermentation amplifies flavor and ensures a luxurious soft texture.
Step 7: Bake the Bread
Preheat your oven to 375°F (190°C). Bake the bread for 25 to 30 minutes, watching for a golden-brown crust that sounds hollow when tapped, a classic indicator your bread is perfectly done. The smell wafting through the kitchen will already have you eager to slice!
Step 8: Cool and Serve
Once baked, remove your loaf from the oven and let it cool in the pan for 5 minutes. Then transfer it to a wire rack to cool completely. This step is essential as it prevents the crumb from becoming gummy and helps your bread hold its shape perfectly.
How to Serve Classic Homemade Sandwich Bread Recipe Explained
Garnishes
While this bread shines on its own, adding a light spread of butter or a dab of your favorite herb-infused oil freshens each bite beautifully. For a touch of extra flair, sprinkle sesame or poppy seeds on top before baking to add subtle texture and visual appeal.
Side Dishes
Classic homemade sandwich bread pairs wonderfully with hearty soups, fresh salads, or your favorite deli meats and cheeses. It’s an ideal base for making comforting grilled cheese sandwiches or serving alongside a warm bowl of tomato basil soup for cozy meals.
Creative Ways to Present
Try toasting slices and topping them with smashed avocado, a sprinkle of chili flakes, and a squeeze of lime for a trendy snack. Alternatively, use the bread to make pull-apart garlic bread by slicing the loaf deep and stuffing it with garlic butter and herbs before baking again. It’s a guaranteed crowd-pleaser!
Make Ahead and Storage
Storing Leftovers
Once completely cooled, store your freshly baked bread in an airtight container or a bread bag at room temperature. This keeps it soft and fresh for up to five days, making mornings easier as you enjoy your own bakery-worthy bread.
Freezing
If you won’t finish the loaf quickly, slice it beforehand and freeze the slices individually. This way, you can toast or thaw only what you need without sacrificing freshness. Properly wrapped, your bread freezes beautifully for up to three months.
Reheating
To revive that just-baked quality, toast frozen slices directly or warm whole loaves in a 350°F (175°C) oven for about 10 minutes. This refreshes the crust’s crispness and softens the crumb, breathing life back into your homemade bread.
FAQs
What are the key ingredients for making homemade sandwich bread?
The essentials include all-purpose flour, active dry yeast, warm water, sugar, salt, and a bit of olive oil or melted butter. Each plays a vital role, from structure to flavor and moisture.
What type of flour is best for soft sandwich bread?
All-purpose flour works wonderfully and is very approachable for beginners, but bread flour can provide added chewiness and structure due to its higher protein content. Feel free to experiment with a mix for the best results.
How do I get the perfect dough consistency for homemade bread?
A slightly sticky yet manageable dough that forms a smooth ball is your goal. Kneading develops gluten, so the dough should be elastic and spring back when poked. The windowpane test is a helpful way to check readiness.
What is the recommended baking temperature and time for homemade sandwich bread?
Preheat your oven to 375°F (190°C) and bake the bread for 25 to 30 minutes, until it’s golden and sounds hollow when tapped. Using a thermometer, the internal temperature should be 195°F to 200°F (90°C to 93°C).
How do I get a soft and golden crust on my homemade bread?
Brushing the dough with an egg wash before baking adds a beautiful shine and deepens the golden color. Baking at the right temperature without overcooking keeps the crust tender yet crispy.
Final Thoughts
There’s something deeply satisfying about pulling a warm, golden loaf of sandwich bread fresh from your oven, especially when it’s your own homemade creation. This Classic Homemade Sandwich Bread Recipe Explained gives you a reliable path to soft, flavorful bread that will elevate your sandwiches, breakfasts, and snacks. Don’t hesitate to embrace the process and enjoy each step—from mixing and kneading to that wonderful first slice. Happy baking, friend!
“`
Print
Classic Homemade Sandwich Bread Recipe Explained Recipe
- Total Time: 2 hours
- Yield: 1 loaf (8-10 slices) 1x
- Diet: Vegetarian
Description
This Classic Homemade Sandwich Bread recipe delivers a soft, fluffy loaf perfect for sandwiches and toast. With simple ingredients like flour, yeast, sugar, salt, water, and olive oil or butter, this easy-to-follow guide shows you every step—from activating yeast to perfecting dough consistency and baking a golden crust. Enjoy the warm aroma of fresh bread and the satisfying taste of homemade goodness with a light crumb and tender texture.
Ingredients
Dry Ingredients
- 3 ½ cups (420g) all-purpose flour (plus extra for dusting)
- 2 ¼ tsp (7g) active dry yeast (1 packet)
- 2 tbsp (25g) granulated sugar
- 1 ½ tsp (9g) salt
Wet Ingredients
- 1 ¼ cups (300ml) warm water (110°F/45°C)
- 2 tbsp (30ml) olive oil or melted butter
Instructions
- Activate the Yeast: In a small bowl, combine the warm water and sugar, stirring until the sugar dissolves. Sprinkle the yeast on top and let it sit for 5 to 10 minutes until frothy to confirm the yeast is active.
- Prepare the Dough: In a large mixing bowl, whisk together the flour and salt. Pour in the activated yeast mixture and olive oil or melted butter. Stir until a soft, shaggy dough forms.
- Knead the Dough: Transfer the dough to a lightly floured surface and knead for 8 to 10 minutes until the dough becomes smooth and elastic. Alternatively, use a stand mixer with a dough hook for 3 to 5 minutes until the dough passes the windowpane test.
- First Rise: Place the dough in a lightly greased bowl, cover with a damp cloth or plastic wrap, and let it rise in a warm spot for 1 to 1.5 hours or until it has doubled in size.
- Shape the Dough: Punch down the risen dough to release air. Shape it into a tight loaf and place seam-side down in a greased 9×5-inch loaf pan.
- Second Rise: Cover the loaf pan and let the dough rise again for 30 to 45 minutes, until it rises just above the edges of the pan.
- Score the Loaf: Before baking, gently score the top of the loaf with a sharp knife or bread lame, making a shallow diagonal cut to allow for expansion and a beautiful crust.
- Bake the Bread: Preheat your oven to 375°F (190°C). Optionally, brush the top of the loaf with egg wash for a shiny, golden crust. Bake for 25 to 30 minutes until the crust is golden brown and the loaf sounds hollow when tapped. The internal temperature should reach 195°F to 200°F (90°C to 93°C).
- Cool and Serve: Remove the bread from the oven and let it cool in the pan for 5 minutes. Then transfer it to a wire rack to cool completely before slicing to avoid a gummy texture.
Notes
- Use warm water (not hot) to activate the yeast for best results, ideally around 110°F (45°C).
- For an even softer crust, brush the dough with egg wash before baking.
- If using whole wheat flour, increase hydration slightly to achieve the proper dough consistency.
- The windowpane test helps ensure sufficient gluten development: stretch a piece of dough gently until it is thin and translucent without tearing.
- Store cooled bread in an airtight container at room temperature for up to 5 days or freeze for longer storage.
- Remove bread from the pan promptly after baking to prevent a soggy bottom crust.
- Prep Time: 15 minutes
- Cook Time: 30 minutes
- Category: Bread
- Method: Baking
- Cuisine: American
Nutrition
- Serving Size: 1 slice (about 56g)
- Calories: 150
- Sugar: 2g
- Sodium: 210mg
- Fat: 3g
- Saturated Fat: 0.5g
- Unsaturated Fat: 2g
- Trans Fat: 0g
- Carbohydrates: 28g
- Fiber: 1g
- Protein: 5g
- Cholesterol: 5mg
Keywords: sandwich bread recipe, homemade sandwich bread, easy sandwich bread, classic bread recipe, soft sandwich bread, baking bread at home


